Breeze Medical
Creating a professional microscope slide smear requires careful attention to detail. Understanding how to prepare a professional microscope slide smear is essential for accurate observations and results. A well-prepared slide can make the difference between clarity and confusion under the microscope.
Precision is critical in this process. Start with high-quality specimens and clean slides. Use proper techniques when applying the smear to avoid air bubbles or uneven layers. Each step, from sample collection to staining, demands careful execution. Even minor mishaps can lead to misleading findings.
Contemplating common mistakes is beneficial. For instance, over-thinning the specimen may result in insufficient visibility. Conversely, too thick a smear can obscure details. Reflecting on these potential pitfalls can enhance your skills. The aim is to achieve optimal visibility while ensuring the slide is informative and reliable.
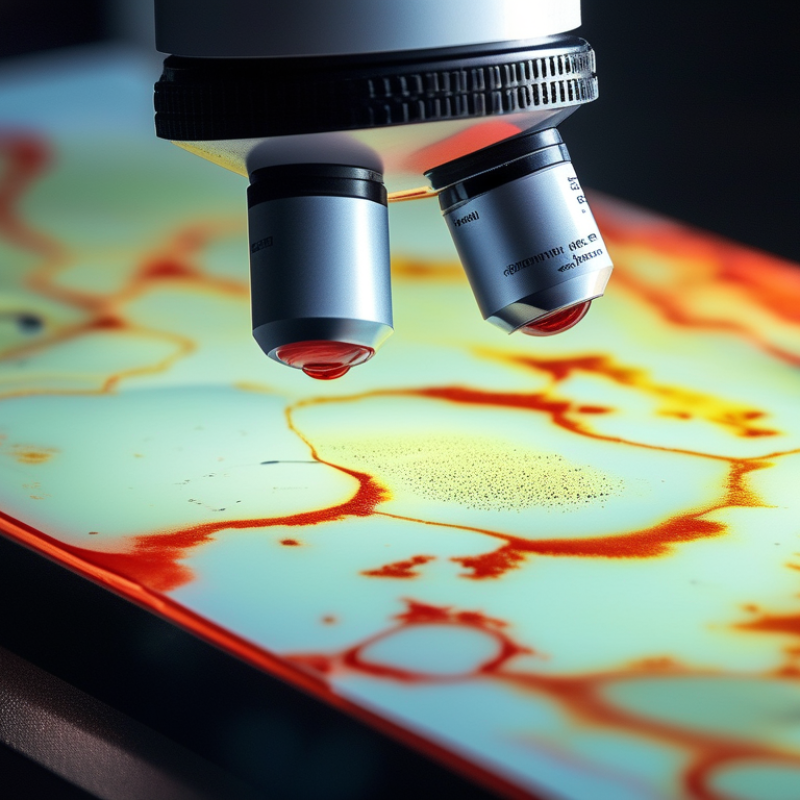
Selecting the appropriate sample for a microscope slide smear is crucial for accurate results. The choice of sample directly affects observations and analysis. For instance, biological specimens should be fresh and properly handled to maintain cellular integrity. A report by the American Society for Microbiology indicates that poorly prepared samples lead to misinterpretations in 20% of cases.
When exploring different sample types, consider their source. Blood, tissue, and microbial cultures each require distinct preparation techniques. Blood smears, for example, should be thin and even to enhance clarity under the microscope. This practice aids in identifying pathogens effectively. Moreover, environmental samples can vary in composition, impacting staining and visibility.
**Tips:**
Always label slides accurately to prevent mix-ups. Use a clean, sharp blade for tissue samples. Keep a consistent technique when spreading the sample. Aim for a uniform, thin layer on the slide; uneven smears can hinder analysis. Reflecting on past work can reveal patterns that improve future slides. Emphasizing cleanliness and preparation can heighten accuracy in results. Keeping a detailed log of sample conditions will further enhance reliability in your findings.
Preparing a microscope slide smear is an essential skill for anyone looking to analyze microscopic samples. Start by gathering your materials. You’ll need clean glass slides, coverslips, and appropriate staining reagents. Ensure that the slides are free from dust and oil, as contaminants can obscure your samples. A proper workspace is crucial. A well-lit area will help you handle the materials more effectively and increase accuracy.
For effective smearing, the consistency of your sample is key. If it’s too thick, it might clot; if too thin, it may lack detail. Use a sterile applicator to spread a small drop of the sample evenly. Apply gentle pressure while moving the applicator in a circular motion to create a thin layer. Practice is essential here; achieving the right technique may take multiple attempts. Remember, don’t rush the process.
After the smear, let the slide air dry completely. This can take some time, but it prevents the sample from breaking apart during staining. Once dry, apply the staining reagent carefully, avoiding excess liquid. Staining highlights the details you need for analysis. Keep in mind that not every slide will turn out well. Some will require re-evaluation and remaking. Use these experiences to refine your technique for future preparations.
Preparing a professional microscope slide smear requires practice and attention to detail. A thin and even smear is crucial for clear imaging and accurate analysis. Start by selecting your specimen carefully. It should be fresh and appropriate for your investigation. Use sterile tools to avoid contamination.
Tips: Always ensure your slide and cover slip are clean. Smudges on glass can severely affect your results. When placing your sample, use a small amount to begin. Excessive material may cause thick smears, complicating clarity. Aim for a uniform spread by applying gentle pressure.
Experiment with the angle of your spreader slide. Too steep can tear the sample; too flat can lead to uneven layers. Take your time and practice with different techniques. Sometimes, imperfections can provide insights into the desired thickness. Don’t hesitate to refine your method based on the observations. Each attempt teaches something valuable.
Staining methods are crucial for enhancing the visibility of microscopic samples. Different stains allow scientists to highlight specific structures. For instance, the industry reports show that using Gram staining can differentiate between gram-positive and gram-negative bacteria, aiding in rapid diagnosis. The efficacy of staining is observed in over 70% of microbiological samples, emphasizing its importance.
Tips: Always prepare your smear slide with care. A well-prepared slide ensures better staining. Additionally, be aware of the pH levels of your stains. Many stains are sensitive to pH changes, which can impact results. Furthermore, maintaining the correct temperature during staining can enhance color intensity.
Dye selection matters greatly. Some stains may not bind effectively to certain cellular components. For example, when using hematoxylin and eosin, be cautious about over-decanting the hematoxylin, as it may lead to inadequate staining. Such oversights can lead to misinterpretations in your analysis. Adjusting your techniques based on reflections from past slides can improve future outcomes significantly.
| Staining Method | Application | Duration | Best Practices |
|---|---|---|---|
| Gram Staining | Bacterial Identification | 20 minutes | Use fresh reagents and control the timing precisely. |
| Simple Staining | Cell Observation | 10 minutes | Make sure to have a clean slide for better results. |
| Acid-Fast Staining | Mycobacteria Detection | 30 minutes | Keep slides warm and maintain consistency in timing. |
| H&E Staining | Tissue Section Analysis | 45 minutes | Ensure sections are thin and evenly spread. |
| Fluorescent Staining | Cellular Component Visualization | Varies (20-60 minutes) | Use the appropriate filter set for microscopy. |
Creating a professional microscope slide begins with proper sample collection. After the specimen is collected, preparation determines the quality of observation. The thickness of the smear is crucial; a layer too thick can obscure details. According to a study from the Journal of Microscopy, optimal thickness should be around 0.1 micrometers for the resolution of fine structures.
Adjusting the slide after the initial smear is equally important. The slide should be carefully dried, ideally in a controlled environment to minimize contamination. Using a cover slip correctly prevents trapping air bubbles, which distort the view. A report from the American Society for Histotechnology emphasizes the significance of avoiding air bubbles, as they can ruin an entire slide's usability. Attention to detail at this stage enhances reliability and accuracy in analysis.
Finally, staining techniques can elevate a slide's clarity immensely. Selecting appropriate stains enhances specific structures within the sample. However, improper staining can lead to misleading results. Research indicates that 30% of slides may look differently under various staining protocols. Investing time in this phase is essential for successful observation and analysis. Regular reflection on techniques and outcomes can help refine the process.
: You need clean glass slides, coverslips, and appropriate staining reagents. Ensure everything is dust-free.
Sample consistency is crucial. It should not be too thick or too thin for effective smearing.
Use a sterile applicator to spread a drop evenly. Apply gentle pressure in a circular motion.
Practice is essential. Don't rush. Multiple attempts may be necessary to achieve a good smear.
Let the slide air dry completely. This prevents the sample from breaking during staining.
Apply the staining reagent carefully. Avoid using too much liquid to highlight necessary details.
Not every slide will be perfect. Some may need re-evaluation, which helps refine your technique.
The angle affects the smear. A steep angle can tear the sample, while a flat angle may cause uneven layers.
Each attempt teaches valuable lessons. Observing imperfections can lead to improved techniques.
Minor imperfections can provide insights. They may help you understand the ideal thickness for your samples.
In the article "How to Prepare a Professional Microscope Slide Smear," essential steps are outlined to ensure effective preparation of microscope slides. First, selecting the appropriate sample is crucial, as it determines the quality of the observation. Following this, preparing the slide and reagents involves meticulous planning to create a conducive environment for smearing.
Techniques for achieving a thin and even smear are highlighted, as they significantly enhance the clarity of the sample under the microscope. Additionally, appropriate staining methods are discussed to improve visibility, allowing for better analysis of the sample characteristics. Finally, the article emphasizes the importance of finalizing the slide properly before observation, ensuring thorough analysis and accurate results. By understanding these key steps, readers can master how to prepare a professional microscope slide smear for their microscopy needs.
